Understanding Aperture in Photography
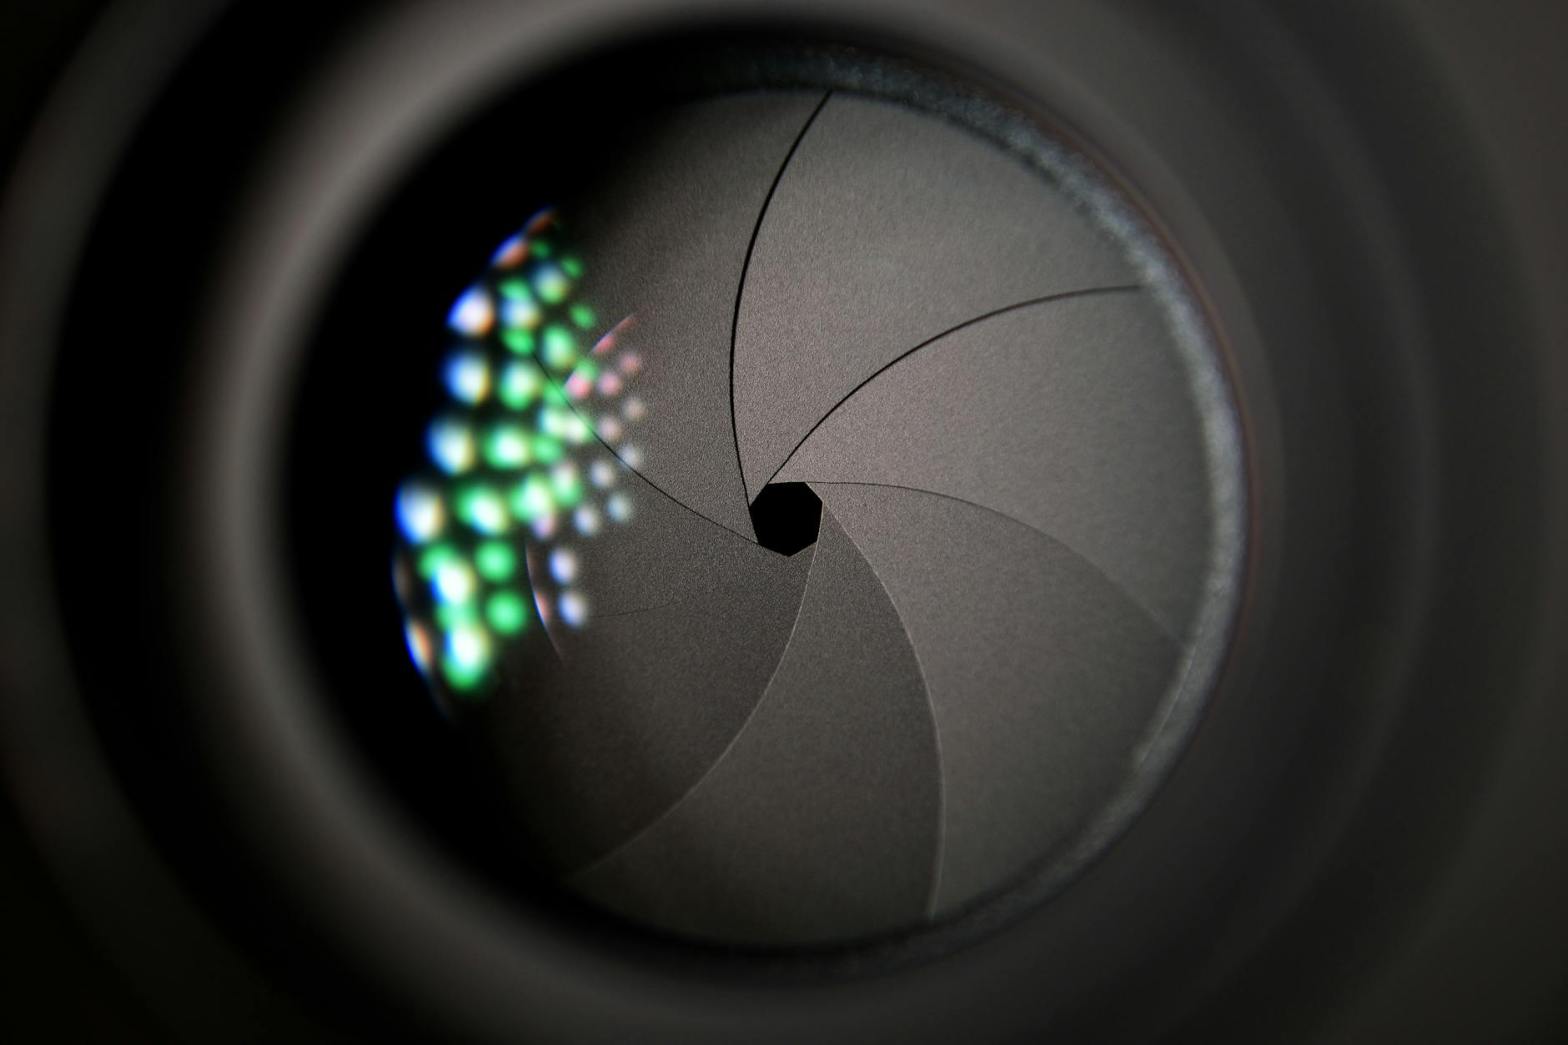
Aperture is a crucial element of photography that directly influences exposure and depth of field. It refers to the adjustable opening in a camera lens through which light passes to reach the sensor. By controlling aperture size, photographers can manipulate brightness and focus, enabling creative and technical control over their images.
Key Concepts
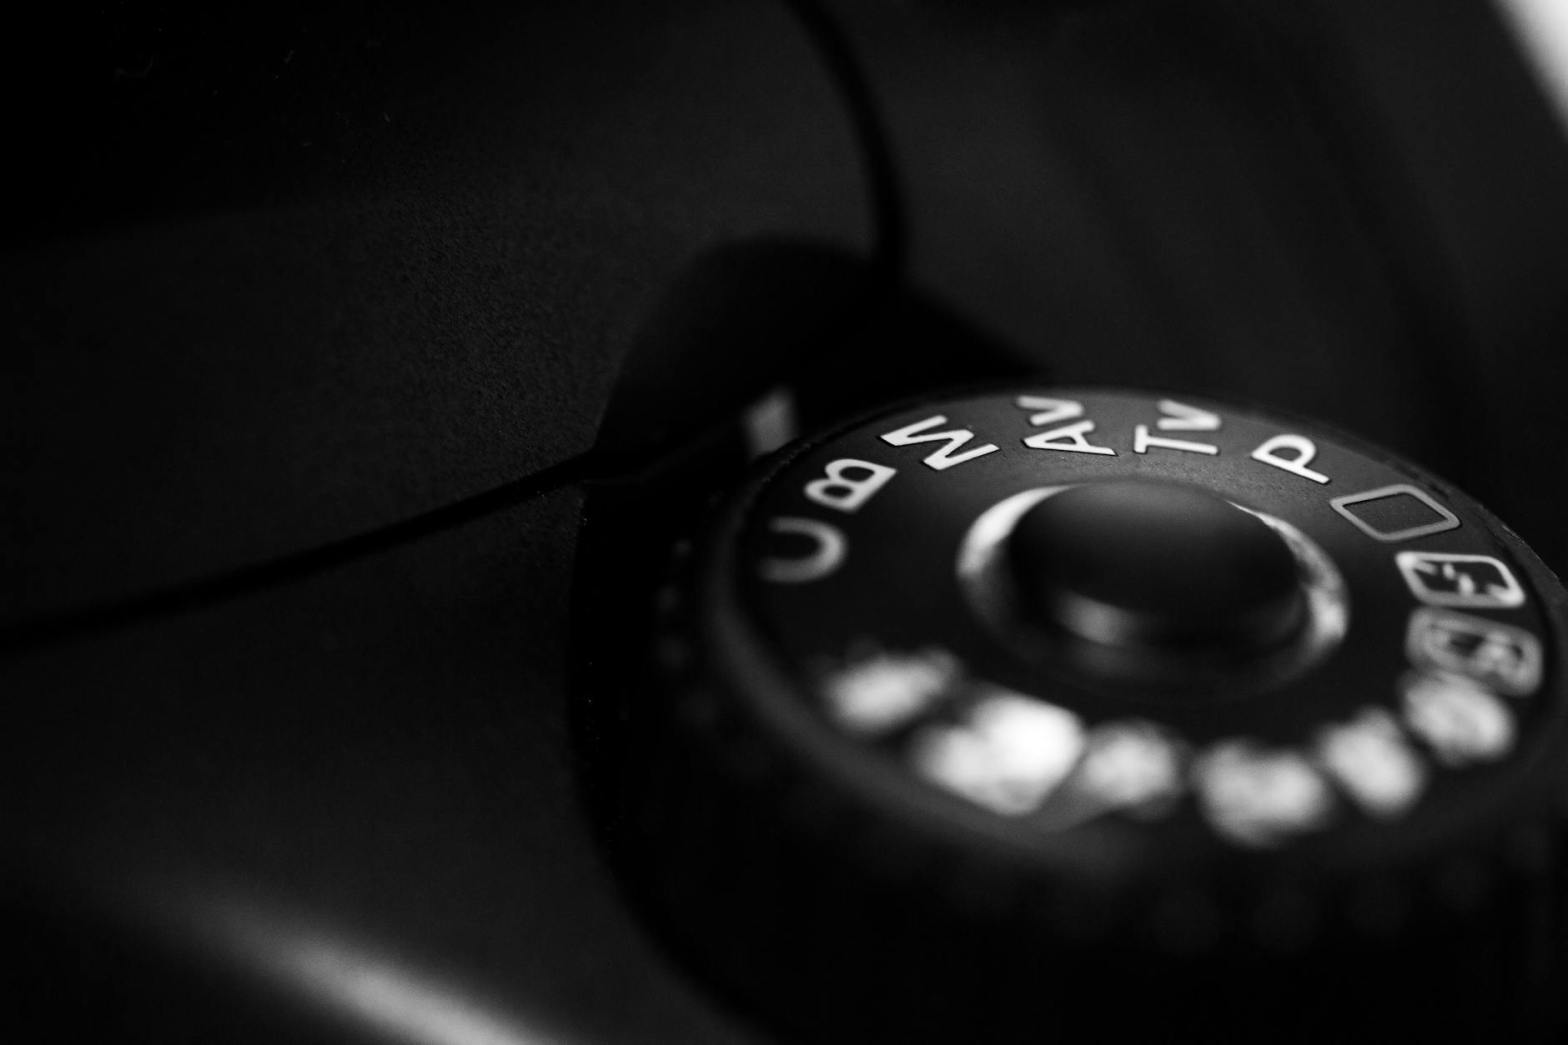
F-Stop Numbers
Aperture is measured in f-stops (e.g., f/1.4, f/2.8, f/5.6, f/11), which indicate the size of the lens opening:
- Smaller f-stop numbers (e.g., f/1.4, f/2.8): Represent larger apertures, allowing more light to enter. This is useful in low-light conditions and for achieving a shallow depth of field.
- Larger f-stop numbers (e.g., f/8, f/11, f/16): Represent smaller apertures, allowing less light in. These settings are ideal for landscape photography, where a greater depth of field is desired.
Depth of Field
Aperture size significantly impacts the depth of field (DoF), which determines how much of an image remains in focus:
- Wide apertures (small f-stop, e.g., f/1.8): Create a shallow depth of field, making the subject stand out by blurring the background. This effect is commonly used in portrait photography.
- Narrow apertures (large f-stop, e.g., f/11, f/16): Increase depth of field, ensuring that more of the scene remains sharp and in focus. This is ideal for landscapes and architectural photography.
Practical Applications of Aperture
Portrait Photography
- Use a wide aperture (e.g., f/1.4 – f/2.8) to isolate the subject from the background, creating a professional and artistic bokeh effect.
- Ensuring eye sharpness: When using very large apertures, focus on the subject’s eyes to maintain sharpness where it matters most.
Landscape Photography
- Use a narrow aperture (e.g., f/11 – f/16) to ensure that both foreground and background elements remain sharp.
- Hyperfocal distance: Understanding this concept allows photographers to maximize depth of field while avoiding diffraction issues at very high f-stops.
Macro Photography
- Balancing depth of field and light: Since macro photography involves close-up subjects, depth of field becomes extremely shallow at wide apertures. A narrow aperture (e.g., f/8 – f/16) is often used to keep more of the subject in focus.
- Focus stacking: Sometimes required when a narrow aperture alone does not provide sufficient depth of field.
Night and Low-Light Photography
- Use a wide aperture (e.g., f/1.4 – f/2.8) to allow as much light as possible onto the sensor, reducing the need for high ISO settings and minimizing noise.
- Trade-off between light and focus: A wider aperture gathers more light but reduces the depth of field, requiring careful subject placement.
Challenges and Considerations
Light Control
- Overexposure risks: In bright conditions, a wide aperture may allow too much light, leading to overexposed images. Solutions include:
- ND Filters: Neutral density filters reduce the amount of light entering the lens without affecting colors.
- Faster Shutter Speed: A quicker shutter speed compensates for increased light intake.
- Lower ISO: Reducing ISO helps balance exposure while maintaining image quality.
Lens Limitations
- Maximum and minimum apertures: Not all lenses can achieve extremely wide (e.g., f/1.2) or narrow (e.g., f/22) apertures. Prime lenses typically offer wider maximum apertures compared to zoom lenses.
- Lens quality and sharpness: Some lenses exhibit softness at their widest apertures or diffraction at their narrowest apertures. Understanding a lens’s optimal aperture (often between f/4 and f/8) helps achieve the best image quality.
Creative Uses of Aperture
- Silhouettes: Using a narrow aperture combined with correct exposure settings can create strong, well-defined silhouettes.
- Starburst Effect: Achieved by using very narrow apertures (e.g., f/16 – f/22) when photographing bright points of light, such as streetlights or the sun.
- Intentional Blur and Bokeh Shapes: Specialized techniques, such as using shaped bokeh filters, can enhance creative expression.
Conclusion
Aperture is a fundamental aspect of photography that affects both technical quality and artistic style. Mastering its control allows photographers to adapt to different lighting conditions, enhance subject isolation, and create striking visual effects. By experimenting with different f-stops and understanding their impact, photographers can unlock new creative possibilities and refine their skills for any photographic scenario.