The exposure triangle is the cornerstone of photography, encompassing three critical elements: aperture, shutter speed, and ISO. Mastering these components is essential for creating well-exposed images and unlocking creative possibilities in your photography. This chapter delves into each component, their relationships, and how to balance them effectively.
Understanding Exposure
Exposure refers to the amount of light that reaches the camera sensor, determining how bright or dark an image appears. The exposure triangle—aperture, shutter speed, and ISO—works together to control this light. Adjusting any one of these elements affects the others, making it vital to understand their interplay.
1. Aperture
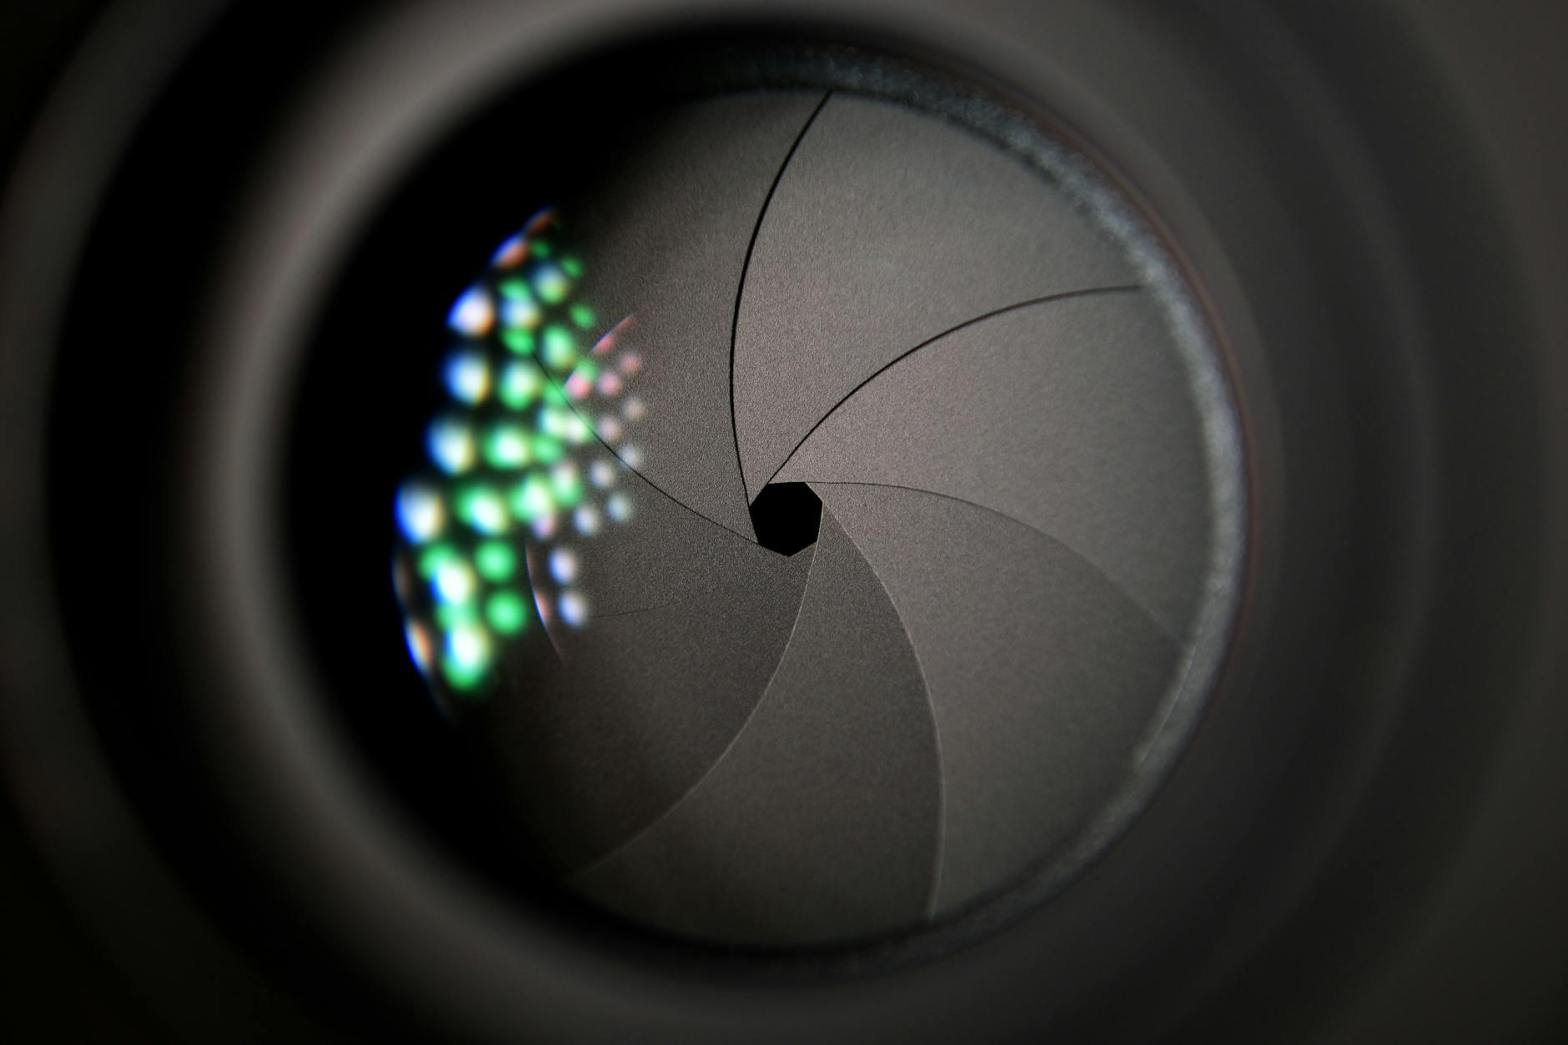
Aperture refers to the opening in the lens through which light passes. Measured in f-stops, aperture sizes directly influence the amount of light entering the camera and the depth of field in an image.
Key Concepts
- F-Stop Numbers: The f-stop scale (e.g., f/1.4, f/2.8, f/5.6, f/11) represents the size of the aperture. Smaller f-stop numbers indicate larger apertures, allowing more light, while larger f-stop numbers represent smaller apertures, allowing less light.
- Depth of Field: Aperture size determines how much of the image is in focus. Larger apertures (smaller f-stops) create a shallow depth of field, isolating the subject by blurring the background. Smaller apertures (larger f-stops) result in a greater depth of field, keeping more of the scene in focus.
Practical Applications
- Portraits: Use wide apertures (e.g., f/1.8) for soft, blurred backgrounds that make the subject stand out.
- Landscapes: Use narrow apertures (e.g., f/11) for sharp details across the entire scene.
Challenges
- Light Control: A wide aperture may result in overexposed images in bright conditions. Use ND filters or adjust other settings to compensate.
- Lens Limitations: Not all lenses can achieve extremely wide or narrow apertures.
2. Shutter Speed
Shutter speed refers to the length of time the camera’s shutter remains open, allowing light to reach the sensor. Measured in seconds or fractions of a second, shutter speed affects motion in an image.
Key Concepts
- Fast Shutter Speeds: Short durations (e.g., 1/1000s) freeze motion, ideal for sports and wildlife photography.
- Slow Shutter Speeds: Longer durations (e.g., 1/10s or longer) capture motion blur, great for creative effects like light trails or silky waterfalls.
- Bulb Mode: Allows the shutter to stay open as long as the shutter button is pressed, useful for long exposures like astrophotography.
Practical Applications
- Action Shots: Use fast shutter speeds (e.g., 1/500s or faster) to freeze fast-moving subjects.
- Creative Blur: Experiment with slow shutter speeds (e.g., 1/30s or slower) for artistic effects.
- Low-Light: Combine slow shutter speeds with a tripod to capture detailed images in dim conditions.
Challenges
- Camera Shake: Slow shutter speeds may result in blurry images due to hand movement. Use a tripod or image stabilization.
- Limited Light: Fast shutter speeds may underexpose images in low light.
3. ISO
ISO refers to the camera sensor’s sensitivity to light. Adjusting ISO levels impacts the brightness of an image and the amount of digital noise.
Key Concepts
- Low ISO: Values like ISO 100 or 200 produce cleaner images with minimal noise, ideal for well-lit conditions.
- High ISO: Values like ISO 1600 or higher brighten images in low light but introduce more noise.
Practical Applications
- Bright Scenes: Use low ISO settings to maintain optimal image quality.
- Dim Scenes: Increase ISO to capture details in low light when aperture and shutter speed adjustments are insufficient.
Challenges
- Noise: Higher ISO settings introduce graininess, especially in shadows and dark areas. Post-processing can mitigate some noise, but image quality may still suffer.
Balancing the Exposure Triangle
Achieving a well-exposed image requires balancing aperture, shutter speed, and ISO. Changing one element impacts the others, so understanding their interactions is crucial.
Example Scenarios
- Bright Outdoor Scene:
- Aperture: f/8 (narrow aperture for depth of field)
- Shutter Speed: 1/1000s (fast to prevent overexposure)
- ISO: 100 (low for maximum image quality)
- Indoor Portrait:
- Aperture: f/2.8 (wide aperture for background blur)
- Shutter Speed: 1/100s (fast enough to avoid motion blur)
- ISO: 800 (higher to compensate for low light)
- Night Landscape:
- Aperture: f/4 (moderate for star detail and depth)
- Shutter Speed: 30s (long exposure for light trails)
- ISO: 1600 (high to capture ambient light)
Creative Uses of the Exposure Triangle
Beyond achieving proper exposure, manipulating the exposure triangle enables creative control over your photography.
Motion Effects
- Use slow shutter speeds to capture motion blur in waterfalls, clouds, or car lights.
- Freeze action with fast shutter speeds to highlight sharp details in sports.
Depth of Field
- Isolate a subject with a shallow depth of field using a wide aperture.
- Capture expansive scenes with maximum detail using a narrow aperture.
Noise and Texture
- Embrace high ISO settings for gritty, atmospheric shots in dim environments.
- Preserve clean, noise-free images in bright conditions with low ISO.
Tools to Aid Exposure
Modern cameras and accessories provide tools to help manage exposure:
Light Meters
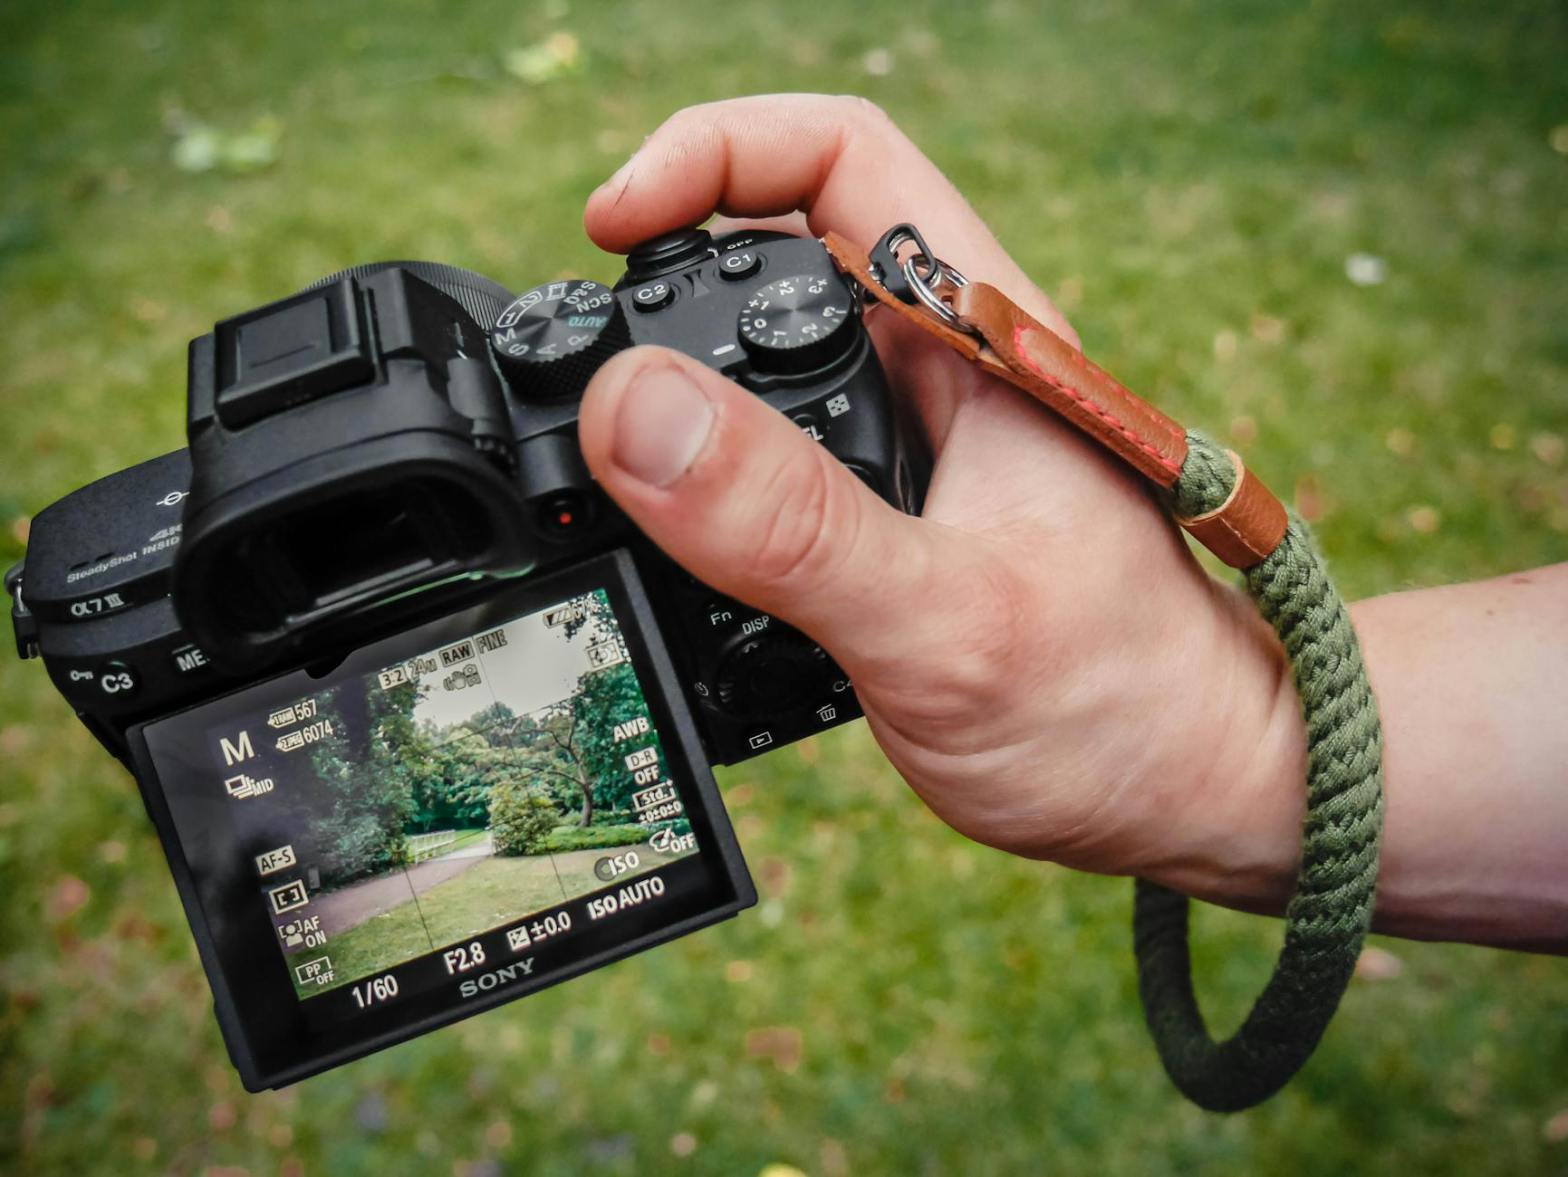
Built-in light meters suggest optimal exposure settings based on the scene’s lighting conditions. Learn to read and adjust these settings manually for precision.
Exposure Compensation
Adjust exposure in-camera without altering aperture, shutter speed, or ISO directly. This is useful for tricky lighting situations.
Histogram
The histogram displays a graphical representation of brightness levels in an image. A balanced histogram helps prevent overexposed highlights or underexposed shadows.
Practice Exercises
- Aperture Priority Mode: Experiment with depth of field by shooting the same subject at different f-stop settings.
- Shutter Priority Mode: Capture motion blur and freeze action by adjusting shutter speeds.
- ISO Sensitivity: Shoot in low light, gradually increasing ISO to observe noise levels.
- Manual Mode: Balance all three settings to achieve different creative effects.
Listen to the podcast here –
Conclusion
Mastering the exposure triangle is a foundational skill in photography. By understanding and balancing aperture, shutter speed, and ISO, you gain control over your images’ technical and artistic aspects. Practice regularly, experiment with settings, and use the exposure triangle as a tool to transform your creative vision into stunning photographs.