Low-light photography is a rewarding but challenging aspect of photography that tests a photographer’s technical skills and creative vision. Whether you’re capturing a cityscape at night, a candlelit dinner, or the stars above, mastering low-light techniques can unlock the beauty hidden in the shadows. This guide provides a comprehensive look at tools, techniques, and tips to excel in low-light conditions.
Understanding the Challenges of Low Light
Photographing in low-light scenarios presents unique challenges:
- Insufficient Light: Leads to underexposed images.
- Noise: Low light often forces higher ISO settings, increasing image grain.
- Camera Shake: Slower shutter speeds may introduce blur due to hand movement.
- Focus Issues: Autofocus systems may struggle in dim environments.
Despite these obstacles, proper techniques and equipment can help you create stunning low-light images.
Essential Camera Settings for Low-Light Photography
Understanding and adjusting your camera settings is the foundation of successful low-light photography.
1. Aperture: Letting in More Light
The aperture controls how much light enters the camera. For low-light situations:
- Use a wide aperture (e.g., f/1.4 to f/2.8) to maximize light intake.
- Prime lenses, which often feature wide apertures, are excellent for low-light shooting.
Pro Tip:
Be mindful of shallow depth of field when using wide apertures, as this can blur parts of the subject unintentionally.
2. ISO: Amplifying Light
ISO determines your camera sensor’s sensitivity to light.
- Increase ISO to brighten the image in low light.
- Modern cameras can handle high ISO settings (e.g., ISO 3200 or higher) with minimal noise, but experiment to find your camera’s limits.
Noise Management:
Use noise-reduction software like Adobe Lightroom to clean up images without sacrificing detail.
3. Shutter Speed: Finding Balance
A slower shutter speed allows more light to reach the sensor. However, this comes with the risk of motion blur.
- Use a tripod to stabilize the camera for slower shutter speeds (e.g., 1 second or longer).
- For handheld shots, try to keep shutter speed above the reciprocal of your focal length (e.g., 1/50 for a 50mm lens).
Creative Use:
Intentional motion blur, such as light trails, can add artistic flair to your shots.
4. Manual Focus for Precision
In low light, autofocus may struggle. Switching to manual focus gives you control.
Tips for Manual Focus:
- Use live view or focus magnification features to ensure sharp focus.
- Focus on high-contrast areas or light sources in the frame.
Equipment for Low-Light Photography
Having the right tools can make a significant difference in your low-light photography.
1. Tripods: Your Best Friend in Low Light
A tripod stabilizes your camera, allowing for longer exposures without introducing camera shake.
Features to Look For:
- Lightweight and portable designs for travel.
- Ball-head mounts for flexible adjustments.
2. Lenses: Bright and Versatile
Invest in fast lenses with wide maximum apertures (e.g., f/1.8 or f/1.4).
- Prime Lenses: Often sharper and better for low light than zoom lenses.
- Wide-Angle Lenses: Ideal for capturing more of the scene in dim environments like cityscapes or astrophotography.
3. External Lighting
Supplement natural light with artificial sources.
- Speedlights: Portable flashes for controlled lighting.
- LED Panels: Provide continuous light and are ideal for video and photography.
4. Remote Shutter Release
A remote shutter release minimizes vibrations during long exposures. Some cameras also offer mobile apps to control the shutter wirelessly.
Techniques for Stunning Low-Light Photos
Beyond settings and gear, mastering techniques is crucial.
1. Shoot in RAW
RAW files retain more data than JPEGs, allowing greater flexibility in post-processing. Adjust exposure, white balance, and noise reduction without losing quality.
2. Use Available Light Creatively
Look for existing light sources, such as streetlights, neon signs, or candles.
Tips:
- Position your subject near the light source to reduce ISO needs.
- Experiment with side lighting or backlighting for dramatic effects.
3. Light Painting
Use a flashlight or LED to “paint” light onto a subject during a long exposure.
How to Light Paint:
- Set your camera on a tripod with a long exposure time (e.g., 10–30 seconds).
- Use the light to highlight specific areas of the frame.
4. Astrophotography
Capturing the night sky requires specialized techniques.
- Use a wide-angle lens with an aperture of f/2.8 or wider.
- Set your shutter speed to the 500 rule: 500 divided by your focal length gives the maximum exposure time without star trails (e.g., 500 ÷ 20mm = 25 seconds).
- Use a high ISO (e.g., ISO 3200) and shoot RAW for better detail.
5. Shoot During Blue Hour
The blue hour, just after sunset or before sunrise, provides soft, diffused light that enhances low-light scenes.
Composition Tips for Low-Light Photography
Strong composition is essential to elevate your low-light images.
1. Embrace Shadows
Use shadows to create mystery and depth in your images.
2. Include Reflections
Reflections on wet streets, glass, or water bodies can add texture and interest to your frame.
3. Simplify the Scene
Low light naturally emphasizes contrasts and shapes. Focus on key elements and avoid clutter.
4. Leading Lines
Use light trails, illuminated paths, or architectural elements to draw the viewer’s eye into the frame.
Post-Processing Low-Light Images
Post-processing is crucial to refine your low-light shots.
1. Exposure Adjustments
Recover details from shadows and highlights without overexposing.
2. Noise Reduction
Apply noise reduction selectively to avoid losing sharpness. Lightroom and Photoshop offer powerful noise-reduction tools.
3. Color Grading
Enhance the mood with careful adjustments to color balance, saturation, and contrast.
Common Challenges and How to Solve Them
1. Blurry Images
- Solution: Use a tripod, faster shutter speed, or image stabilization.
2. Excessive Noise
- Solution: Keep ISO within acceptable limits and apply noise reduction in post.
3. Focusing Issues
- Solution: Use manual focus or focus on areas with more contrast.
Popular Low-Light Scenarios
1. Night Street Photography
Capture the energy of urban life with neon lights, car trails, and bustling streets.
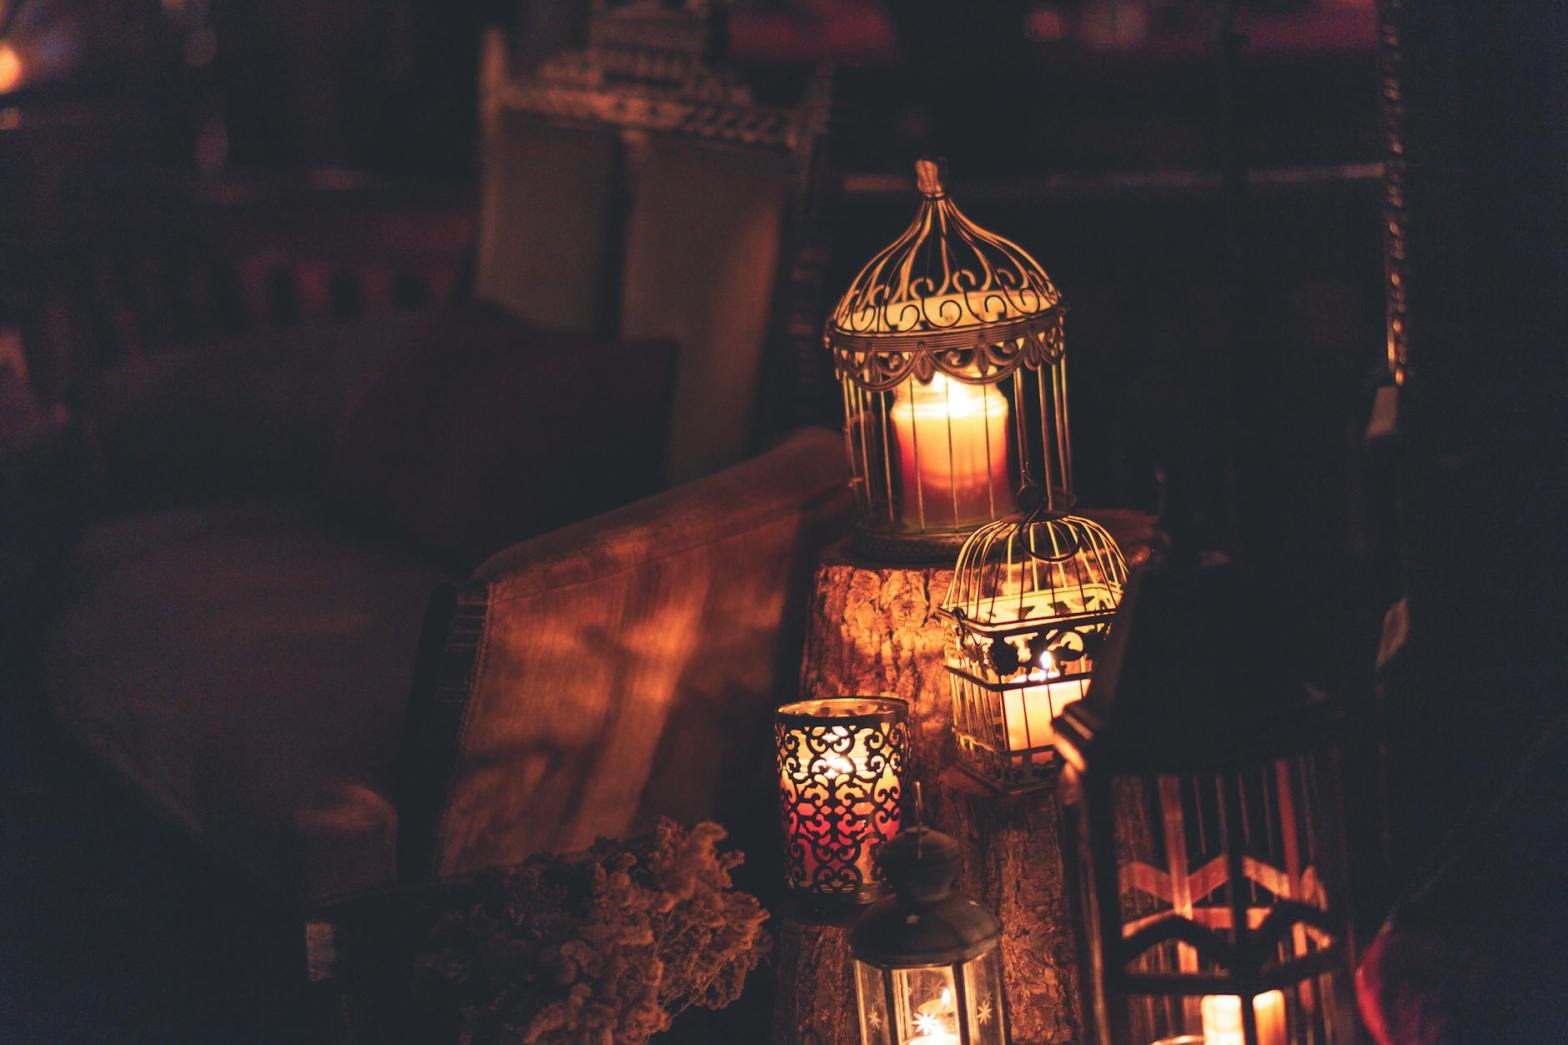
2. Candlelit Portraits
Soft, warm light from candles creates intimate and atmospheric portraits.
3. Event Photography
Concerts, theater, or weddings often require quick adaptation to low light. Use fast lenses and burst mode to capture fleeting moments.
Conclusion
Low-light photography is as much about creativity as it is about technical precision. By understanding your camera’s capabilities, mastering key settings, and embracing the unique aesthetics of low-light environments, you can capture breathtaking images that transform darkness into art.
Practice, patience, and experimentation will help you turn challenges into opportunities for stunning photography. So venture out into the night, and let your camera unveil the beauty hidden in the shadows!

